-

Arctic
(Trader)
Ed3 wrote:Thanks Steve. Today there is more heavy rain so thanks for the warning.I am confused by what I am finding. I went to start with the rear drains in the saloon boot but I am puzzled the drain pipe connections look brand new and clean.
A Rover 75 owner had same problem here in 2013 and gave up trying to fix it
https://www.mg-rover.org/threads/water- ... lp.587690/
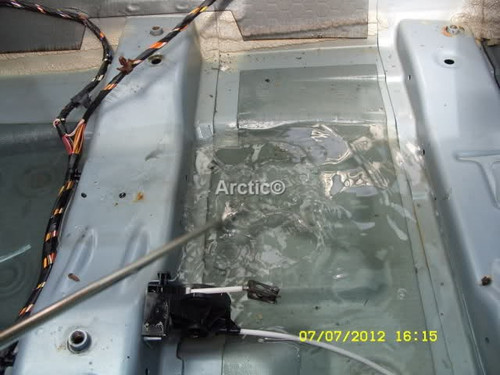
The driver side rear passenger carpet is already unhooked free from by the sill by a previous owner and I soon had a gallon of water in my wet vacuum cleaner. Water keeps reappearing from under the carpet.
I put my old style square Thule Universal roof bars with a 6' x 4' (1.8m x 1.5m) tarp wrapped around the bars to keep rain off the sunroof.
Hi Ed.
Don't be that chap above, sunroof leak drains can and have been solved with great success it's just a case of time and effort.
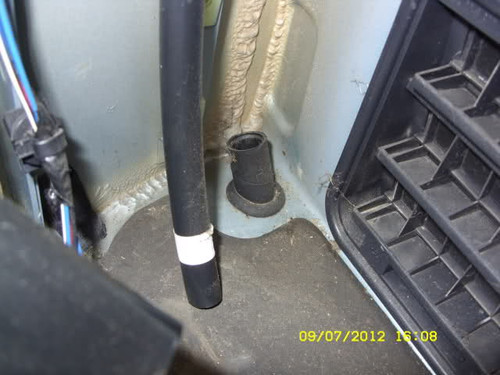
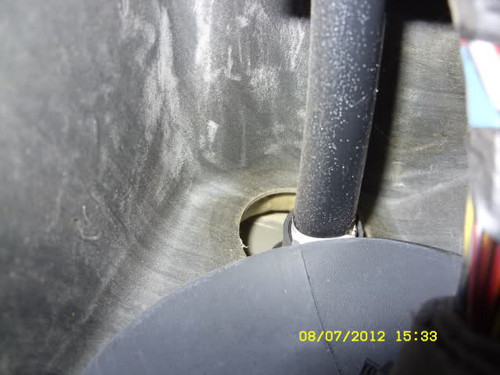
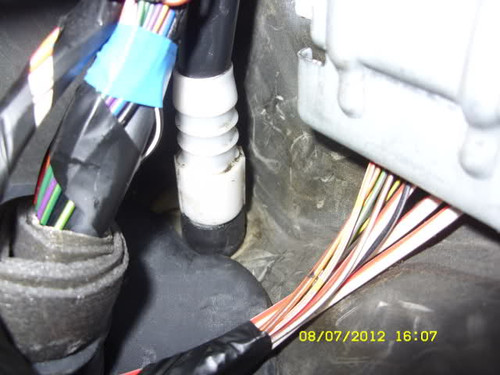
I presume you have a saloon so the rear ones are easy accessible, mine was a Tourer which is even more work to reach the rear drains, but most of the time it's the fronts that cause the problem, anyways pull out the tube and you will see it is only just inside by about 5/7mm which is not good from factory.
[url=%URL_VIEWER_PREVIEW%]
 [/url]A
[url=%URL_VIEWER_PREVIEW%]
 [/url]B
[url=%URL_VIEWER_PREVIEW%]
 [/url]C
 [url=%URL_VIEWER_PREVIEW%]
 [/url]D
[url=%URL_VIEWER_PREVIEW%]
 [/url]E
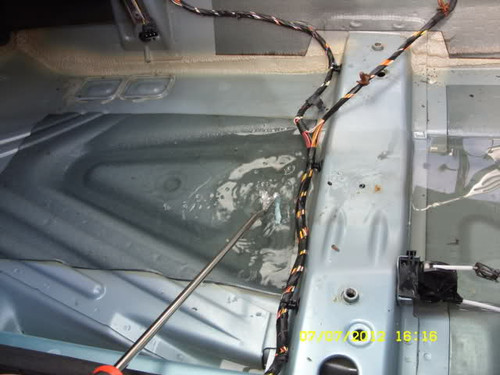
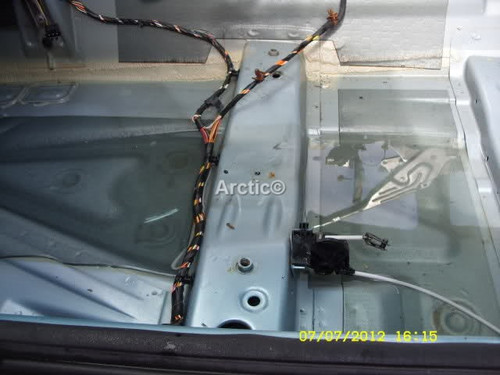
The same goes for the front which are the real problem, once water gets in it goes under the carpet, and because of the sponge it can take years before the water shows above the surface of the carpet, usually first sign is just below the seat belt anchorage area little dip.
[url=%URL_VIEWER_PREVIEW%]
 [/url]1
[url=%URL_VIEWER_PREVIEW%]
 [/url]2
[url=%URL_VIEWER_PREVIEW%]
 [/url]3
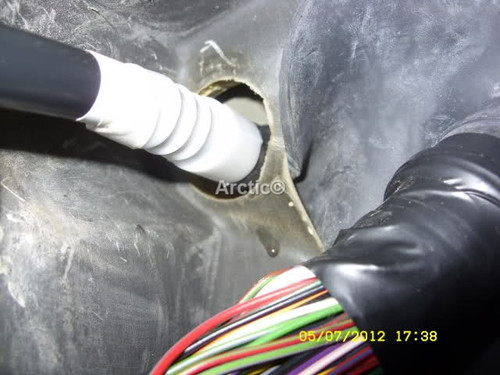
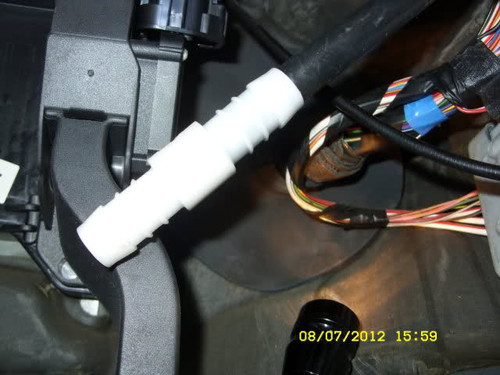
With connectors i used from Halfords.
[url=%URL_VIEWER_PREVIEW%]
 [/url]4
[url=%URL_VIEWER_PREVIEW%]
 [/url]5
You can use tip of sealant which would do the same job, but the ones i used have barbs so they hold in.
The water by then because of the floor pan design it flows to the rear and eventually fill all the floor pan.
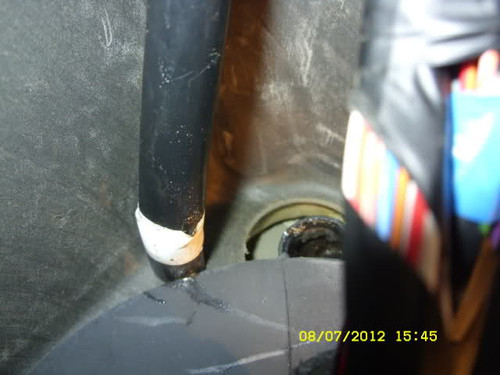
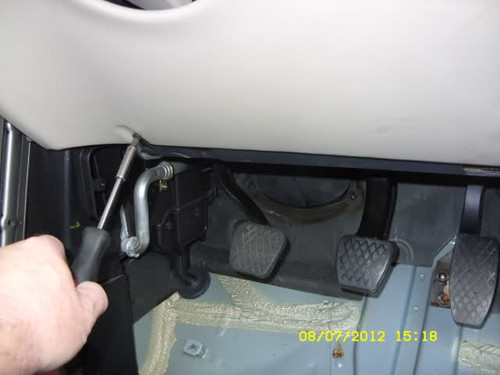
You will also need to peel back the front wheel arch liner and cut a bit off the sunroof outlet tubes as here below.
[url=%URL_VIEWER_PREVIEW%]
[/url]6[url=%URL_VIEWER_PREVIEW%]
[/url]7[url=%URL_VIEWER_PREVIEW%]
[/url]8[url=%URL_VIEWER_PREVIEW%]
[/url]9[url=%URL_VIEWER_PREVIEW%]
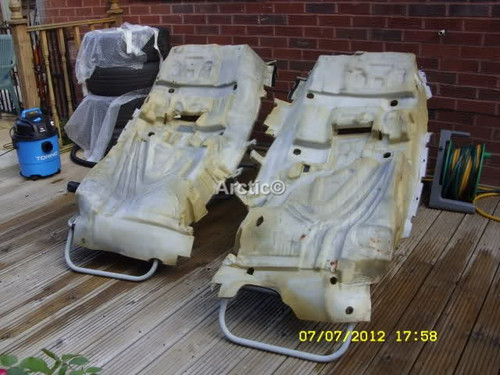
[/url]10Don't give up at the moment clean what you can out without removing the carpets then come summer get them out, and dry it out completely, or if you have a carpet from another car replace it with that.
Pearl Firefrost
ARCTIC
ARCTIC


 [/url]1
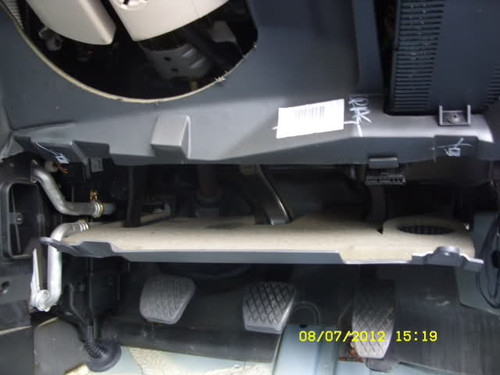 [/url]2
 [/url]3
 [/url]4
 [/url]5
 [/url]6
 [/url]7
 [/url]8
 [/url]9
 [/url]10
 [/url]11
 [/url]12
 [/url]13
 [/url]14
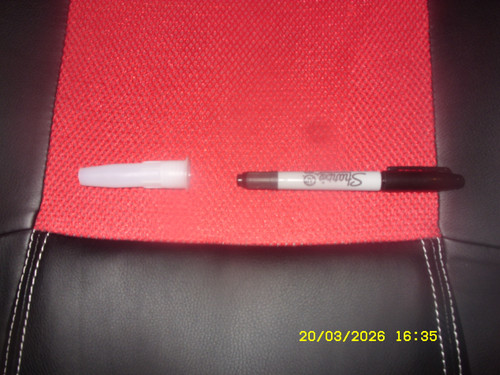 [/url]15
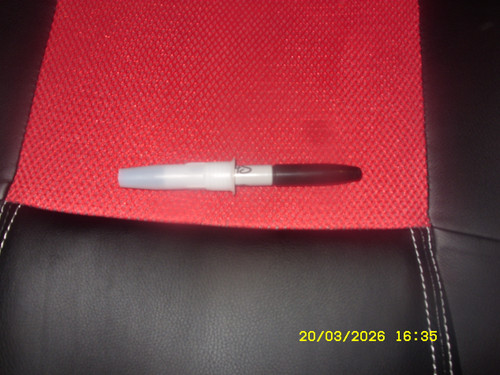 [/url]16