Up to date pics :-D by Mischief (Page 1 of 2)


User avatar
Mischief
Outside the house:

http://i371.photobucket.com/albums/oo15 ... dae5ba.jpg

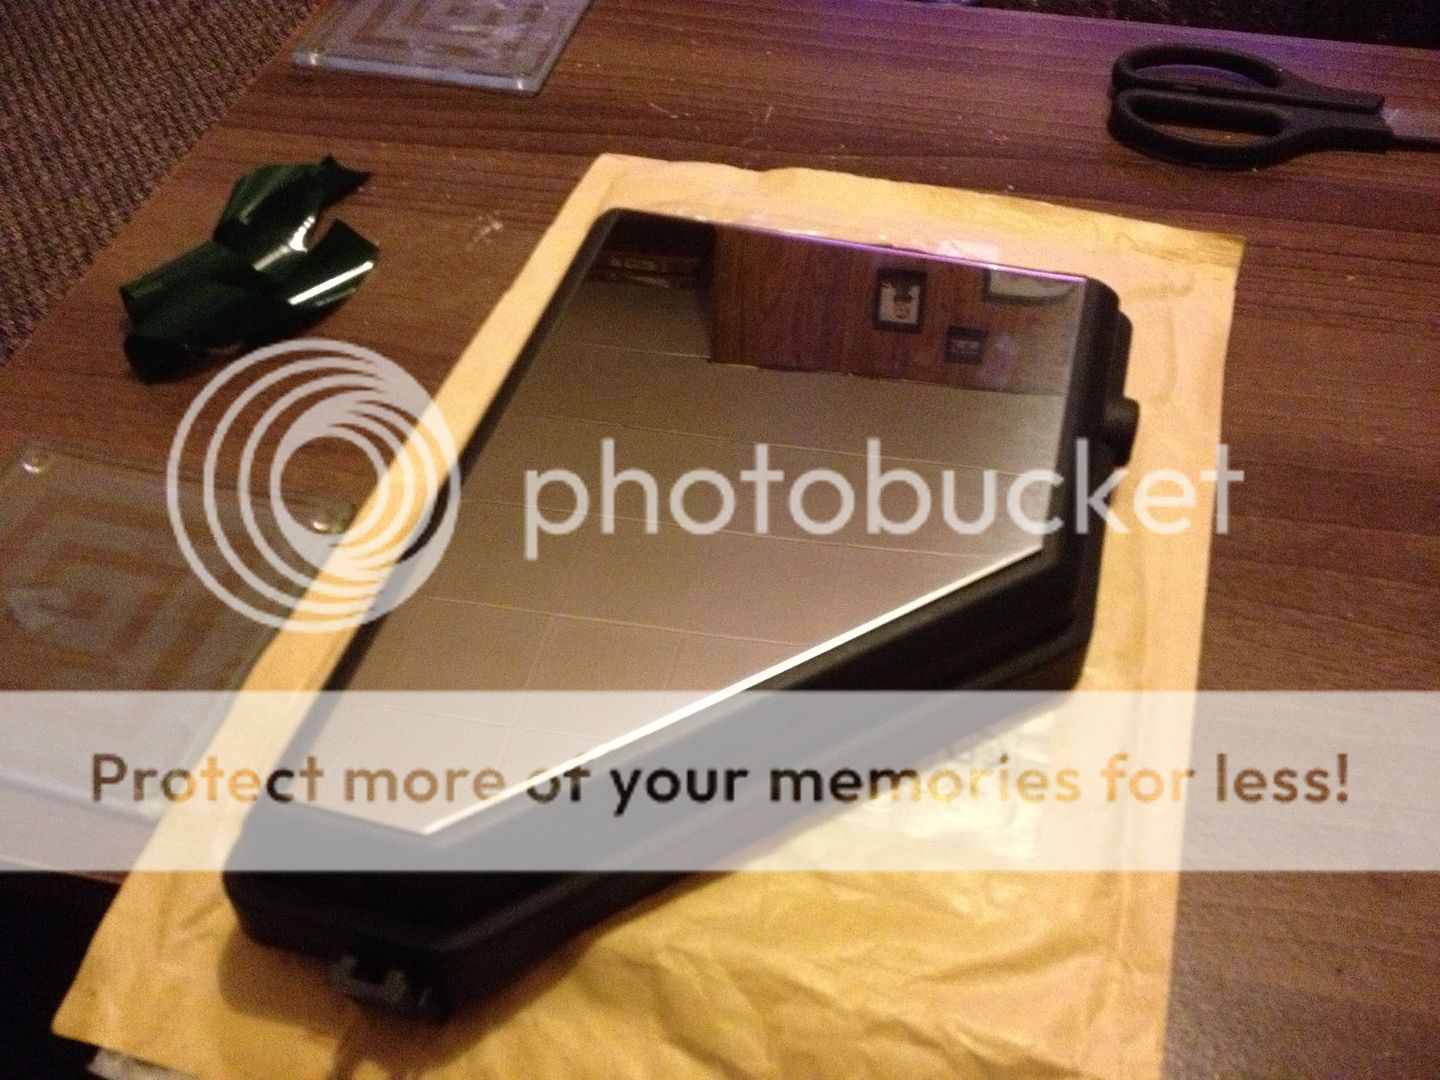
Chrome fuse box cover:

http://i371.photobucket.com/albums/oo15 ... ba9e55.jpg

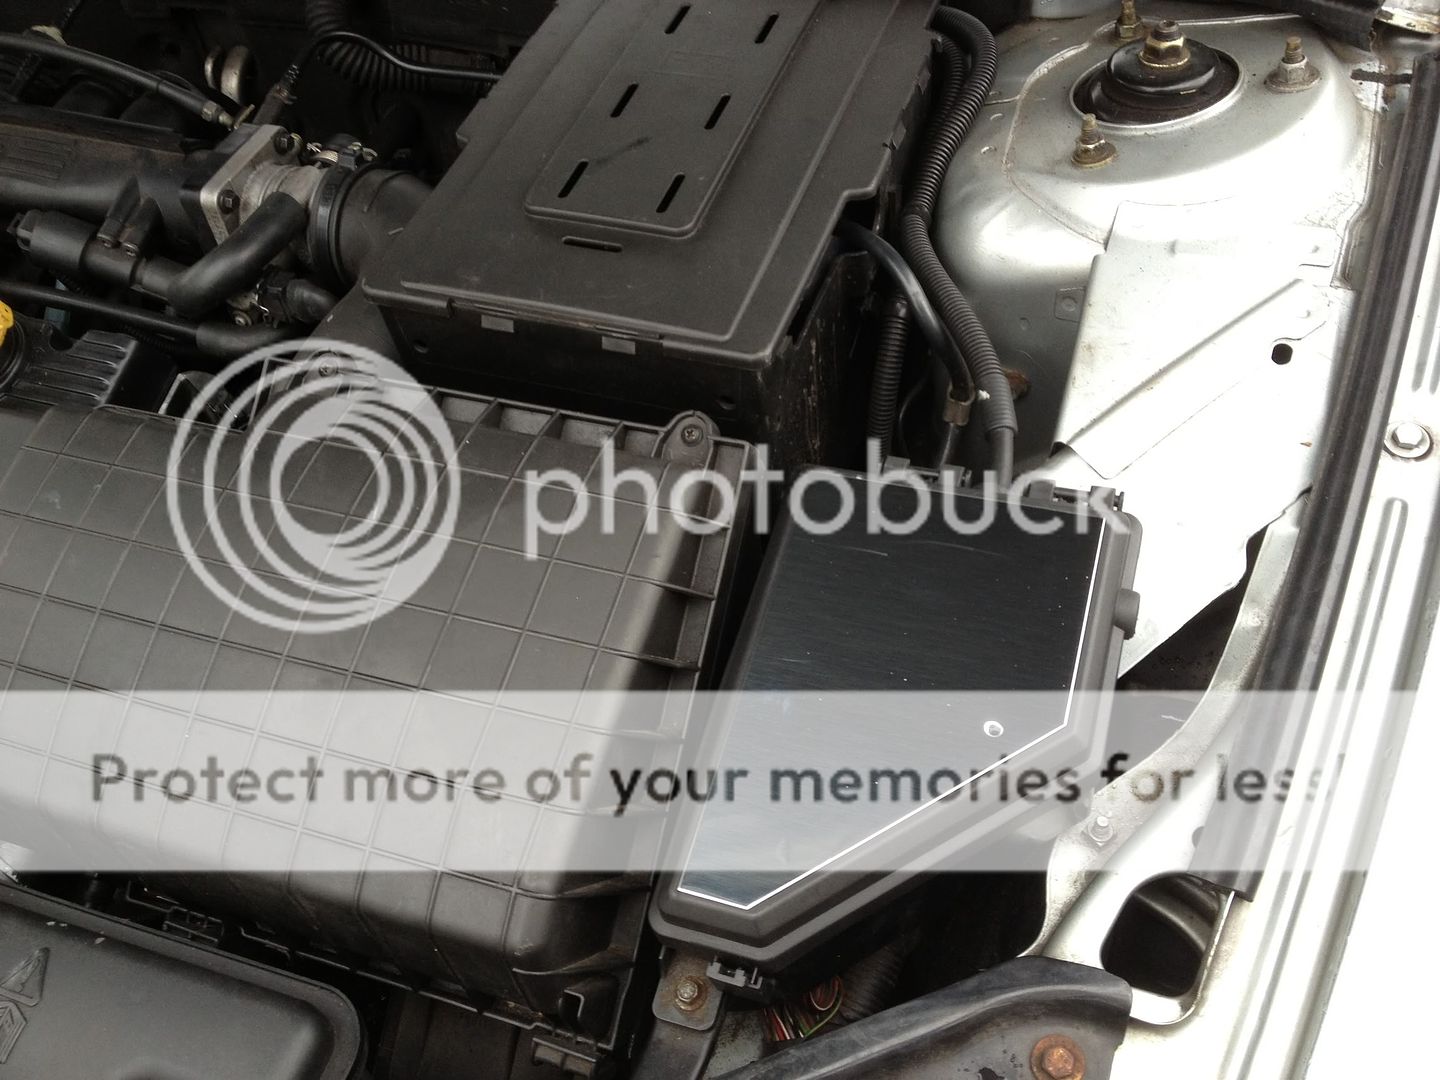
Installed in the car:

http://i371.photobucket.com/albums/oo15 ... 9f76c0.jpg

Jules plenum shield:

http://i371.photobucket.com/albums/oo15 ... 933c36.jpg

Leather seats after install:

http://i371.photobucket.com/albums/oo15 ... a4a85d.jpg

http://i371.photobucket.com/albums/oo15 ... 43a0b7.jpg

Switches for seat heaters:

http://i371.photobucket.com/albums/oo15 ... 2f3d56.jpg

2 of the switch holes have been blanked one holds the stereo USB cable the center hole will be for the sunblind switch when i get round to buying the blind.

Thanks for looking :-D
John
Regards
Chief

Image

Posted 10 Feb 2013, 17:59 #1 

Last edited by Mischief on 13 Feb 2013, 13:21, edited 1 time in total.

User avatar
Mischief
User avatar
Mick
(Site Admin)
Looking great John, intrigued by the ZT exhaust finisher. ;)

Posted 12 Feb 2013, 14:28 #3 

User avatar
Mischief
Mick wrote:Looking great John, intrigued by the ZT exhaust finisher. ;)


Thanks Mick

My rear bumper was flaking a lot of paint because of the tow bar, That bumper was cheap and the right paint code so i bought it and fitted it yesterday as it had the reverse sensors it gives me a chance to retro wire them into the car. The exhaust needs changing anyway as its looking a little "used" shal we say so having the finisher gives me the opportunity to fit a nice looking exhaust ;)

John
Regards
Chief

Image

Posted 13 Feb 2013, 08:04 #4 

User avatar
Mischief
Reverse sensors installed and fully working :-D :

http://i371.photobucket.com/albums/oo15 ... e9088d.jpg
Regards
Chief

Image

Posted 16 Feb 2013, 16:28 #5 

User avatar
Mischief
Recent updates to the car.

Front fogs and Xenon headlights:

http://i371.photobucket.com/albums/oo15 ... 590d55.jpg

Auto dimming mirror:

http://i371.photobucket.com/albums/oo15 ... 7865da.jpg

Not much left i want to install so nearly finished :-D

John
Regards
Chief

Image

Posted 18 Jun 2013, 10:10 #6 

User avatar
Mischief
New flip key:

Image

Image
Regards
Chief

Image

Posted 01 Jul 2013, 16:27 #7 

User avatar
Mischief
New bits added at he nano click thumbs for full size images/video:

Black caps curtacy of dattrike (Nice Dave)

Image

Electric rear sunblind thanks to Arctic for supplying and Paul for the help fitting:

Image

Accessory socket thanks to jake for supplying it and fitted this at home yesterday:

Image

Cheers
John
Regards
Chief

Image

Posted 10 Jul 2013, 10:12 #8 

User avatar
Trebor
Hi John, moditis is a common complaint when you own one of these cars
Robs Pictures at :

Robs Car Gallery

click below to access nano website
Image

Planning is an unnatural process, much better to just get on with things, that way failure comes as a complete surprise instead of being preceeded by a period of worry and doubt

Posted 13 Jul 2013, 22:17 #9 

User avatar
Mischief
Confused :gmc:
Regards
Chief

Image

Posted 14 Jul 2013, 07:56 #10 


Cockaa
Mod itis! You flaming galah :)
I'm not quite right you know.........

Posted 14 Jul 2013, 14:10 #11 

User avatar
Mischief
Dammit lol I was half asleep when I read that re read it when awake and it makes sense lol yup I got the mod bug ;)

John
Regards
Chief

Image

Posted 14 Jul 2013, 15:17 #12 

User avatar
Mischief
Croft door finishers installed:

Image

Image
Regards
Chief

Image

Posted 16 Jul 2013, 16:15 #13 

User avatar
Mischief
Marmite ambient lighting.

Image Image Image Image Image
click for bigger image

Well that was the quickest Royal Mail ever :o and the first time anyone has put John 'mischief' Griffiths on a package before lol

Image
click for bigger image

Thanks Jake :-D

Ok and here's the things I got through the post today in place:

Torch socket.

Image
click for bigger image

New indicator stalk with trip button.

Image
click for bigger image

Marinabrian has sent me a new 93S56 chip for my IPK (Instrument pack (IPK from the German)) pre loaded with YAC003850LNF for petrol cars. I then took apart the IPk and changed over the chip. When finished I went out and did a quick test.

Image
click for video

Also Marinabrian said that if the IPK is put in place before the T4 (Testbook version 4.Computer Diagnostic System) it will read a config mismatch and install the IPK automatically :-D roll on next meet ;)
Regards
Chief

Image

Posted 23 Jul 2013, 16:18 #14 

User avatar
persuer
Well John she's starting to take shape, She's a lot different since the first nano you attended.
Image

Posted 09 Aug 2013, 20:52 #15 

User avatar
Mischief
Defiantly is got more pics to post changed the wheels to unions as well as a few other things done.

John
Regards
Chief

Image

Posted 09 Aug 2013, 20:56 #16 

User avatar
Trebor
Very nice John
Robs Pictures at :

Robs Car Gallery

click below to access nano website
Image

Planning is an unnatural process, much better to just get on with things, that way failure comes as a complete surprise instead of being preceeded by a period of worry and doubt

Posted 09 Aug 2013, 21:41 #17 

User avatar
Mischief
Cheers Rob, heres the updates so far.

New wheels:

Image Image

Changed the pollen filter here's the old one:

Image Image Image

Also had a leek in the driver side headlight so had to open it up and dry it out:

Image

All sealed up now and fully working again.

John
Regards
Chief

Image

Posted 09 Aug 2013, 21:47 #18 

User avatar
kandyman
Be interesting to know how you went about opening up and resealing the light as both the MK1 & 2 are sealed units.
Image

Posted 10 Aug 2013, 09:23 #19 

User avatar
Mischief
Wife's hair dryer on low heat and being very careful not to split any of the holders on the lense :-D was easier than I thought. Used some loctite high temp sealant to re seal the unit.

John
Regards
Chief

Image

Posted 10 Aug 2013, 10:06 #20 


Top

cron