Need some positive elimination I reckon.
Ensure seat power supply fuses are supplying 12 volts by using a test meter probe on both the supply and load side of the mini blade exposed pins of fuses 49, 51, and 53 while in situ, IGN on.

Are your electric seats retro fitted or original equipment?.
If original, and you stated the seat loom connection is ok, then reach under and unplug the loom.
IGN on
Test thick wires on the loom plug
Black = earth
Yellow = earth
Orange/Yellow = 12v
Orange/Green = 12v
Orange/white = 12v
Thin Slate/Grey = earth
Everything apart from heated seat elements go though the under seat ECU
(Engine Control Unit). if there is a power supply problem relating to the
ECU none of the motor functions will work.
Next thing I would do is remove the side valance and drive the seat motors direct, bypassing the BCU
(Body Control Unit), this will aid removing the seat also. because the seat will not recline, removing the torx screws will be tricky, but I have done it several times, a helping hand to hold the seat cushion out the way helps.
This may help also, only takes a few minutes.
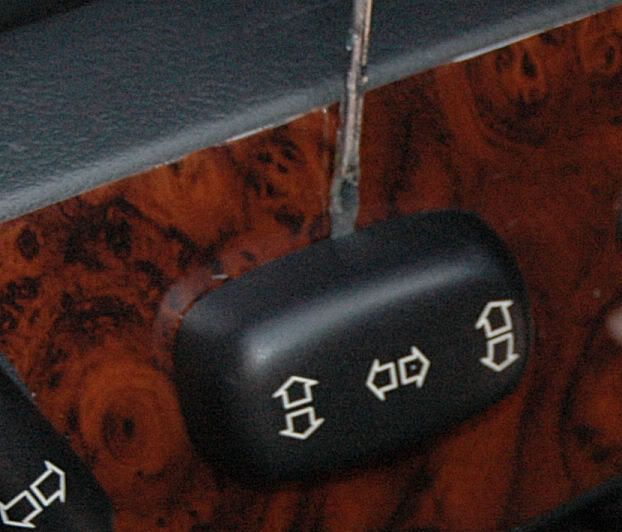
First remove the motor switch covers. Insert screwdriver from above or below a few mm as shown in the pic and lever out until it clicks off. This is the best place to lever off the cover without damaging the microswitch parts underneath the cover.Pull off the switch cover with your fingers.
 http://i681.photobucket.com/albums/vv17 ... _UK/4x.jpg
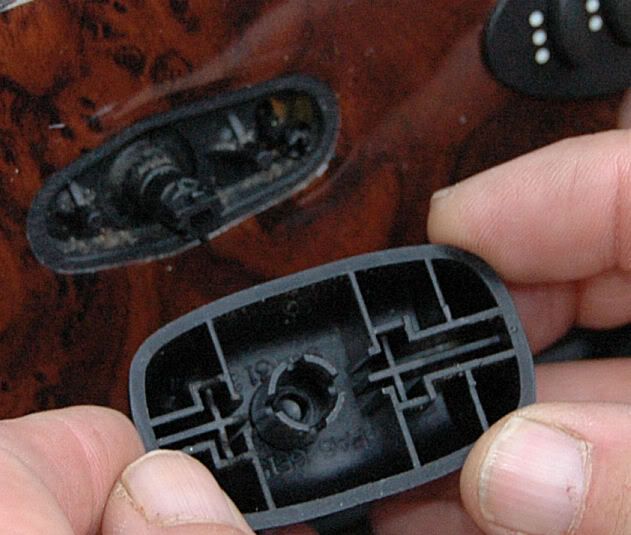
The switch covers click into place by a castleated type turret shown below. Note the cover has to be replaced the same way, be careful not to try to push the cover on upside down.
The valance cover is held in place by 2 X torx screws and a nut with a 10mm head. Recline the seat back as far as it will go and remove the torx screws. The nut is accessed by raising the seat as high as it will go and tilting the front of the base upwards. Reach behind the valance cover and remove the nut. It can usually be removed using only your fingers if you push against the valance, I only tighten it finger tight by pushing against the valance cover. The bolt the nut goes on is held in place though a plastic tube type mount, whammying up with a spanner or socket may damage the bolt mounting.
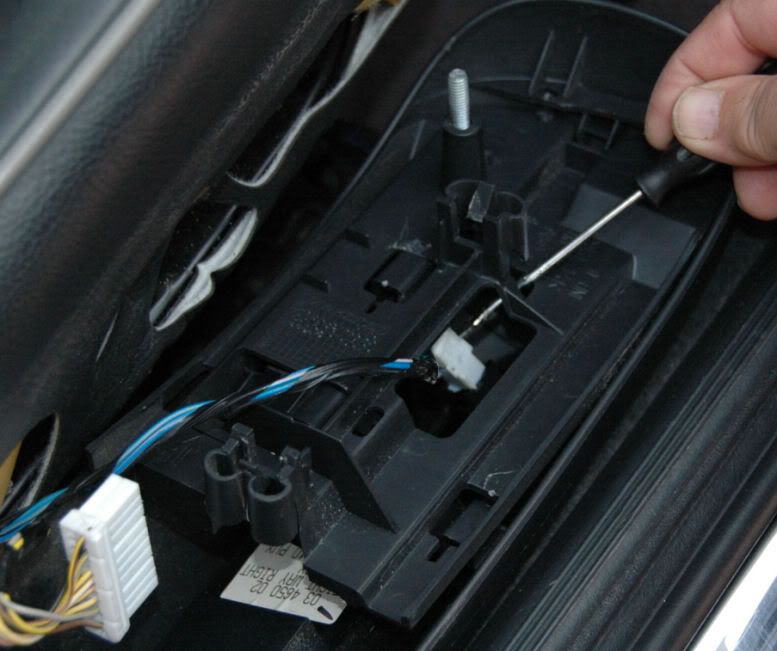
Take hold of the cover as shown, (torx screw and nut positions arrowed)

Pull the cover away, no need to yank the cover out, there is plenty of room to unplug the switches. the front cover securing bolt can be seen towards the front of the valance cover.
Lever off the plug to the switch module (I use a small screwdriver against the retaining tab)
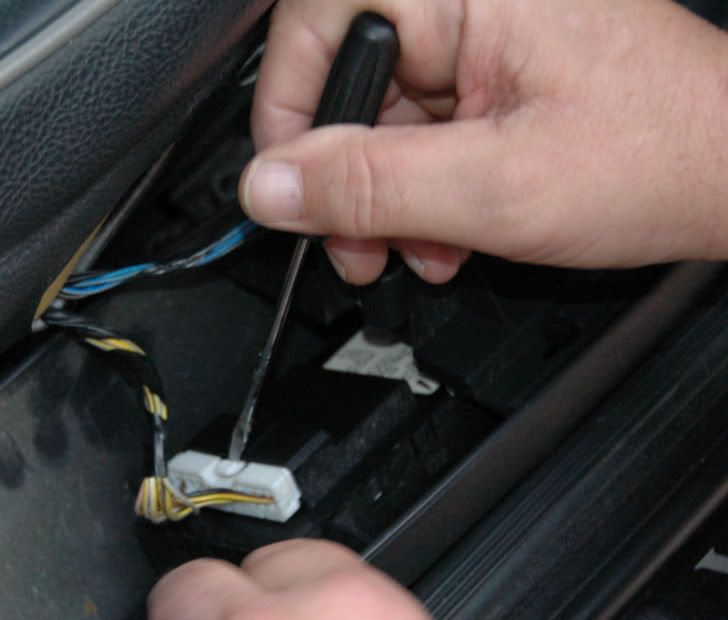
Same with the memory switch plug
At the module connector in the above picture,
Using a suitable 12v supply and earth, and wires with probes suitable to hold in pin sockets (twisty bits of wire, matches, or cocktail sticks at your own risk
Connect Black pin to earth.
Momentarily Connecting 12v to Yellow/White pin , OR (not both) 12v to White/Yellow pin , will directly power the motor to move the seat forward/back, this will allow access to the seat mounting bolts. Momentarily Connecting 12v to the Yellow/Pink and Pink/Yellow pins will adjust the backrest if needed
Attempt this entirely at your own risk. Any damage caused whatsoever, from blowing fuses to firing airbags or pre tensioners is entirely your own responsibility


