
As we were discussing exhausts on Mick’s MOT thread, I thought some of you might be interested to see how I recently replaced the front section of the exhaust on my 1.8 Tourer when the Cat broke up inside its casing. The original exhaust is a single piece from manifold to back box but if damage occurs you don't necessarily need to replace the whole thing as repair sections are available.
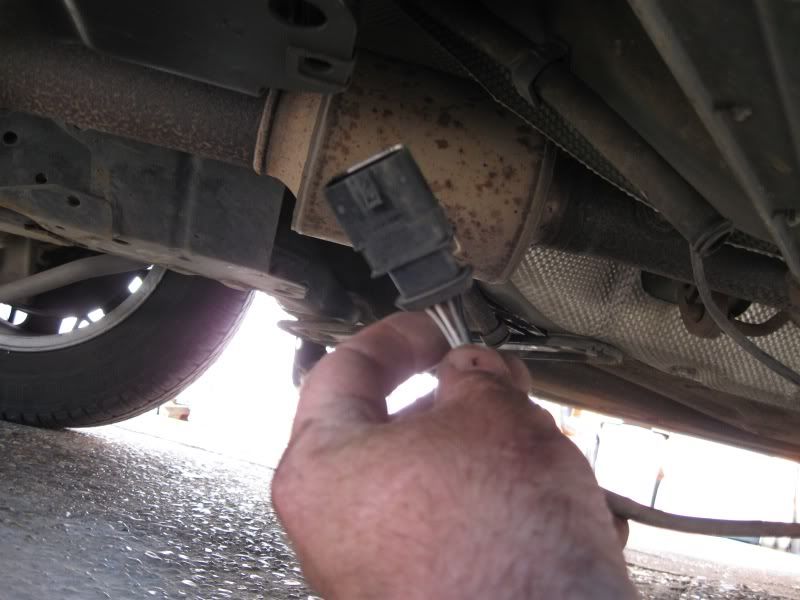
First job was to remove the lead running to the oxygen sensor fitted just behind the cat
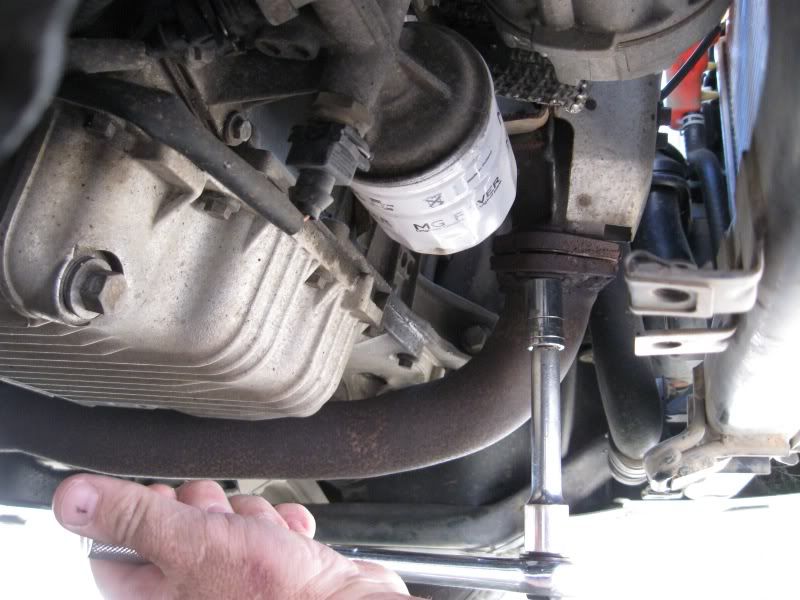
Next job was to remove the crossbraces fitted across the underside of the car

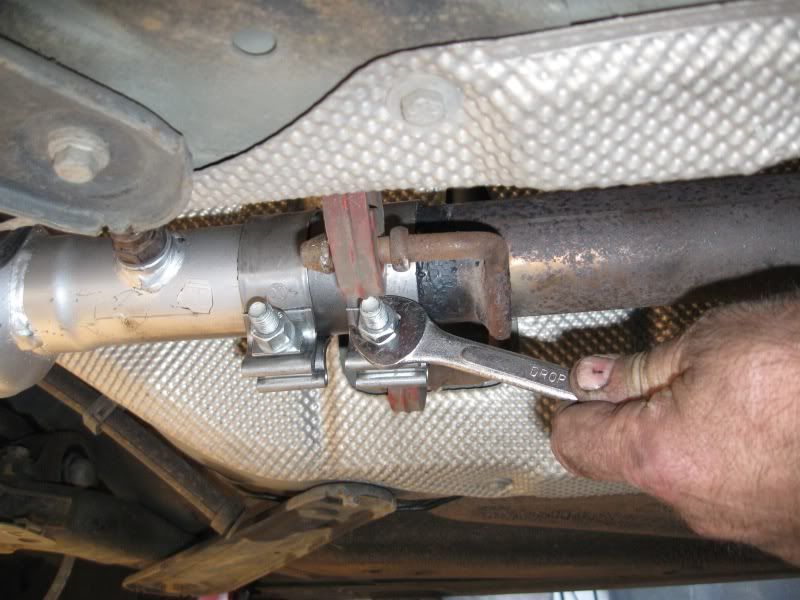
Then the two nuts at the manifold flange were removed.
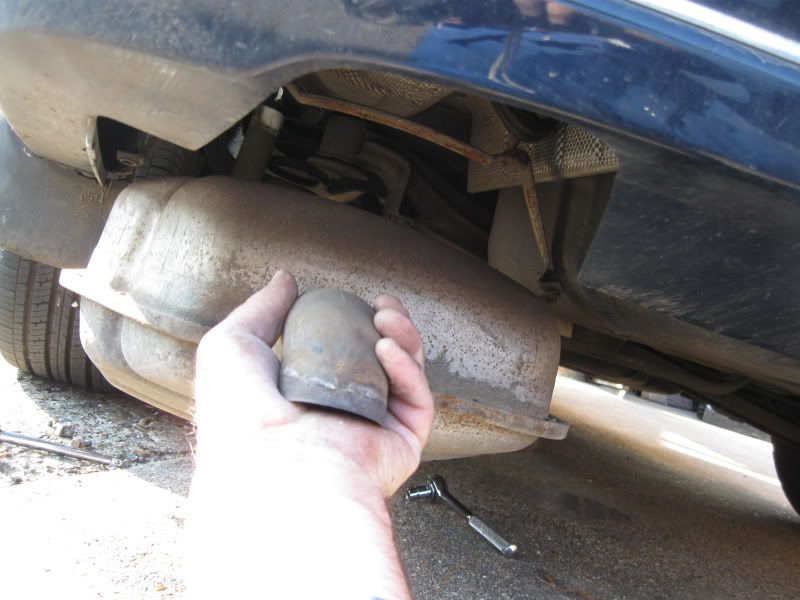
The exhaust could then be fully freed from the car by releasing the central and rear hangers.
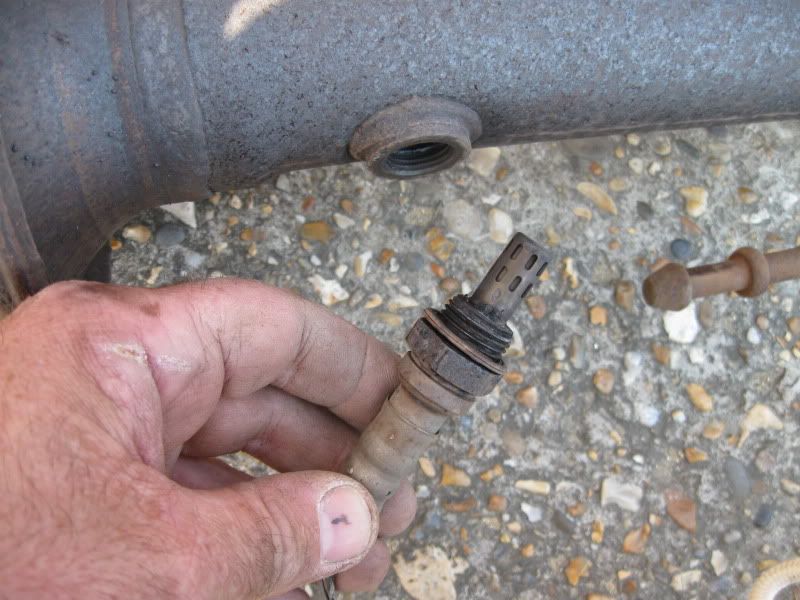
The oxygen sensor was then unscrewed from the old pipe – this can be re-used if undamaged but you should fit a new sealer washer.
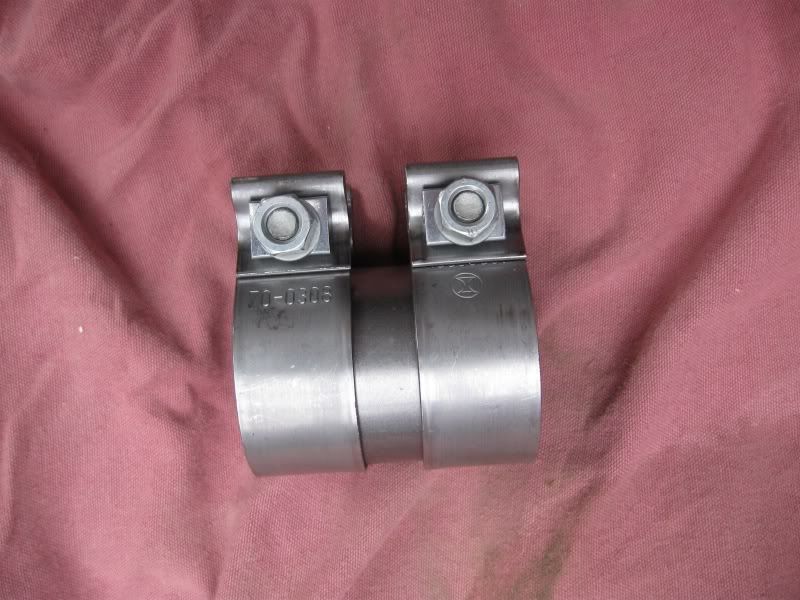
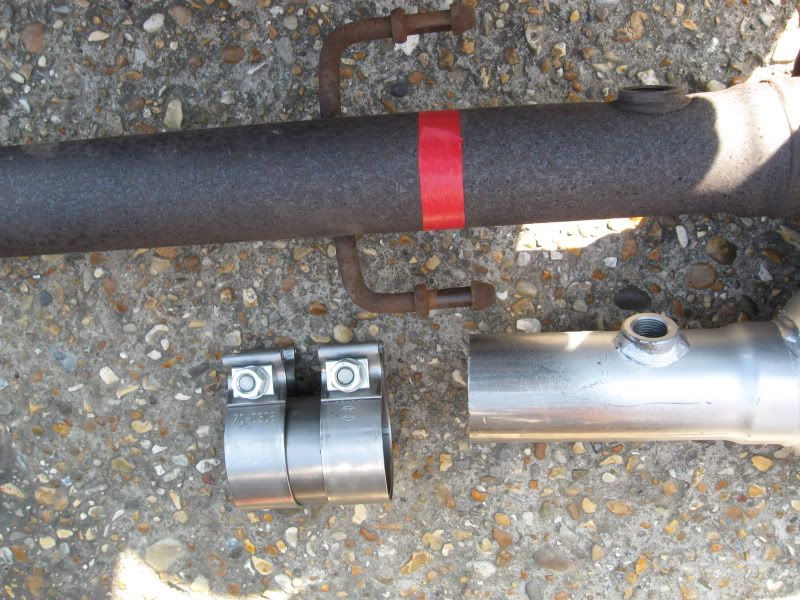
This is the clamp which is used to join the new section of pipe to the old once the part we are replacing has been cut off
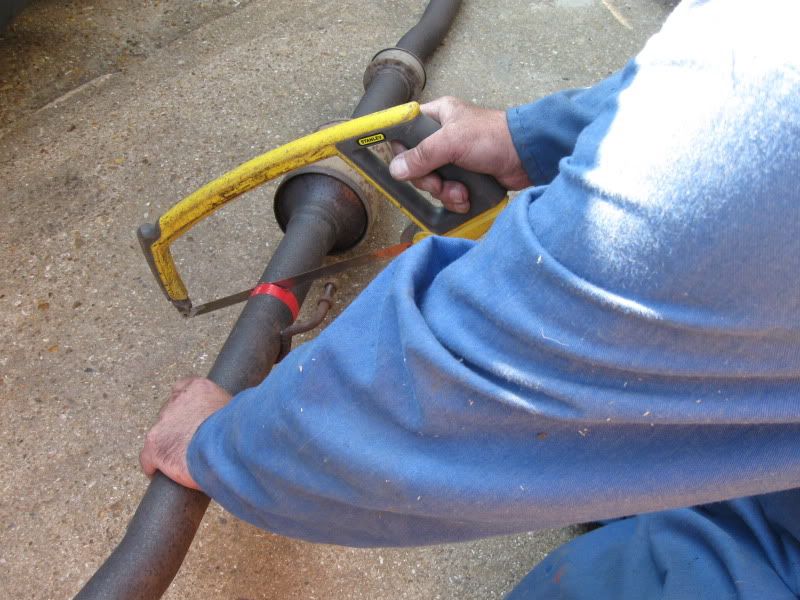
I used insulation tape to mark where the old pipe needed to be cut
Then set to work with the hacksaw
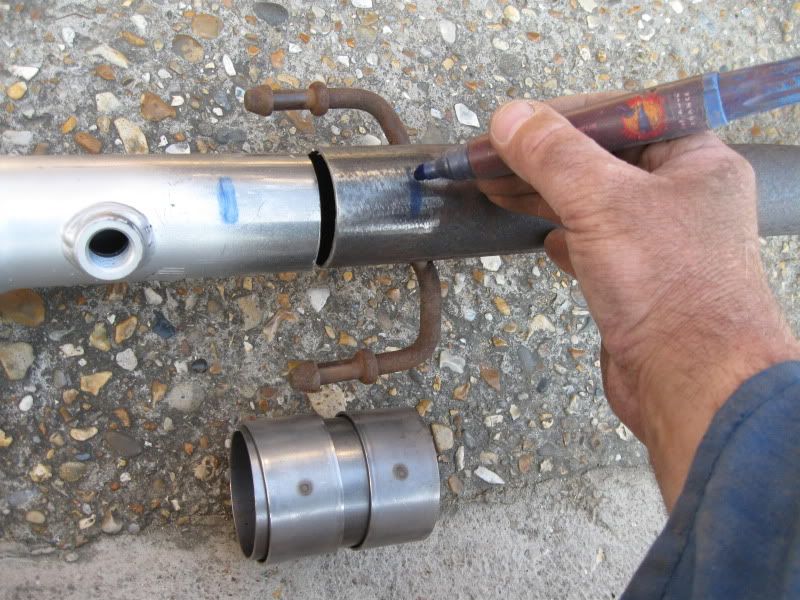
So that I knew the two parts of exhaust would be successfully joined together I marked the limits of the clamp on each section of pipe – this way I could line the clamp up so that it was central over the joint
When fitting the new front section to the manifold this should be done ‘dry’ – i.e. no exhaust putty or sealer to seal the joint. This is because if pieces of dried putty or sealer flake off inside the pipe they will end up in the cat where they can cause problems. The mating faces at the manifold joint therefore have to be perfect and you must use a new gasket.

The old rear section of pipe can then be refitted and the new clamp used to mate it to the front section. You can use putty or sealer here as we are ‘downdraught’ of the cat. Before tightening the clamp fully you need to replace the back section of exhaust on its hangers and make sure that it is fitted so that it doesn’t foul the floor of the car. Clamp can then be fully tightened .
All that then remains is to refit the oxygen sensor (with a new sealing washer) and replace the crossbraces on the underside of the car.
There is, however, one other important point: If you are replacing a section of exhaust which includes the cat on a car registered after March 2001 then the cat must comply with EEC Type Approval reg E9-103R.
First job was to remove the lead running to the oxygen sensor fitted just behind the cat
Next job was to remove the crossbraces fitted across the underside of the car
Then the two nuts at the manifold flange were removed.
The exhaust could then be fully freed from the car by releasing the central and rear hangers.
The oxygen sensor was then unscrewed from the old pipe – this can be re-used if undamaged but you should fit a new sealer washer.
This is the clamp which is used to join the new section of pipe to the old once the part we are replacing has been cut off
I used insulation tape to mark where the old pipe needed to be cut
Then set to work with the hacksaw
So that I knew the two parts of exhaust would be successfully joined together I marked the limits of the clamp on each section of pipe – this way I could line the clamp up so that it was central over the joint
When fitting the new front section to the manifold this should be done ‘dry’ – i.e. no exhaust putty or sealer to seal the joint. This is because if pieces of dried putty or sealer flake off inside the pipe they will end up in the cat where they can cause problems. The mating faces at the manifold joint therefore have to be perfect and you must use a new gasket.
The old rear section of pipe can then be refitted and the new clamp used to mate it to the front section. You can use putty or sealer here as we are ‘downdraught’ of the cat. Before tightening the clamp fully you need to replace the back section of exhaust on its hangers and make sure that it is fitted so that it doesn’t foul the floor of the car. Clamp can then be fully tightened .
All that then remains is to refit the oxygen sensor (with a new sealing washer) and replace the crossbraces on the underside of the car.
There is, however, one other important point: If you are replacing a section of exhaust which includes the cat on a car registered after March 2001 then the cat must comply with EEC Type Approval reg E9-103R.
